
This week I am back at work with the whole cloth project depicting complex trees.
It’s time to convert this linear drawing into a fleshed-out image: some colors, some forms, some positive-and-negative shapes.
One of my first steps is to fill in the trees with printed patterns. Not the same pattern on all trees – a mix of this and that.
(A thought about concept: As I look at this work from a step back I amazed at how much it appears to be a forest, or a group of different trees. I am still fascinated that this composition is a close-up depiction of a single small tree that lives outside my studio. Exploring it in pattern and color will, I hope, give voice to how varied it is, to the ways the light hits the different parts, although it is a single thing.)
So, back to details. Masking out areas to stamp and work with resists is something I do all the time. I hardly think about the process. But I often hear from readers who are nice enough to follow along, and are interested enough to ask questions, who ask, “Can you slow that down at bit and let us see more?” OK! This blog is for you!
THE FOUND OBJECT: These pattern experiments will be created with a mat that has a simple vertical-horizontal grid pattern. It is a rubberized plastic of some sort. It’s a mat you would cut to size and put in the bottom of a drawer for cutlery or on shelves beneath glassware. Find them at any hardware or big-box store.
THE WORK SURFACE: To do any relief printing (i.e. stamping) you need a padded surface. Pressing the inked object onto fabric on a hard surface won’t provide enough give. Here’s my padded surface:

I’ve wrapped a beach towel around a piece of foam insulation board. A wood base would also work. I’ve taped a scrap plastic sheet over it to protect the towel. You could create something similar with batting or any other kind of soft material.
INKING THE PLATE: For this first part of the experiment, the mat will serve as the printing plate. I am using the phrase “inking” as one would in printmaking: as a verb. I don’t actually use ink; I use acrylic paint. So, this is how I get the acrylic paint onto the mat to use the mat for printing. I roll it on with a foam roller.

PRINTING THE IMAGE: This is low-tech printing by hand. The printing press is my hand. I flip the mat over, paint side down, and press it on the fabric I am printing. (For my test, I am printing onto unbleached cotton muslin that I stiffened up in advance with a thin coat of acrylic white. That will approximate the fabric in my actual fabric artwork.)

TAKING A PEEK: With most hand printing techniques, you can lift an edge of your plate (or printing object) to take a look at the image. If it’s too light you might want to put I down and press some more.

This mat is not the same on each side. On one side, little nibs stick out at the intersections of the squares, meaning they print as dots. I also flipped it over and printed from the other side, which shows up more as a linear grid. Below, you can see them side by side.
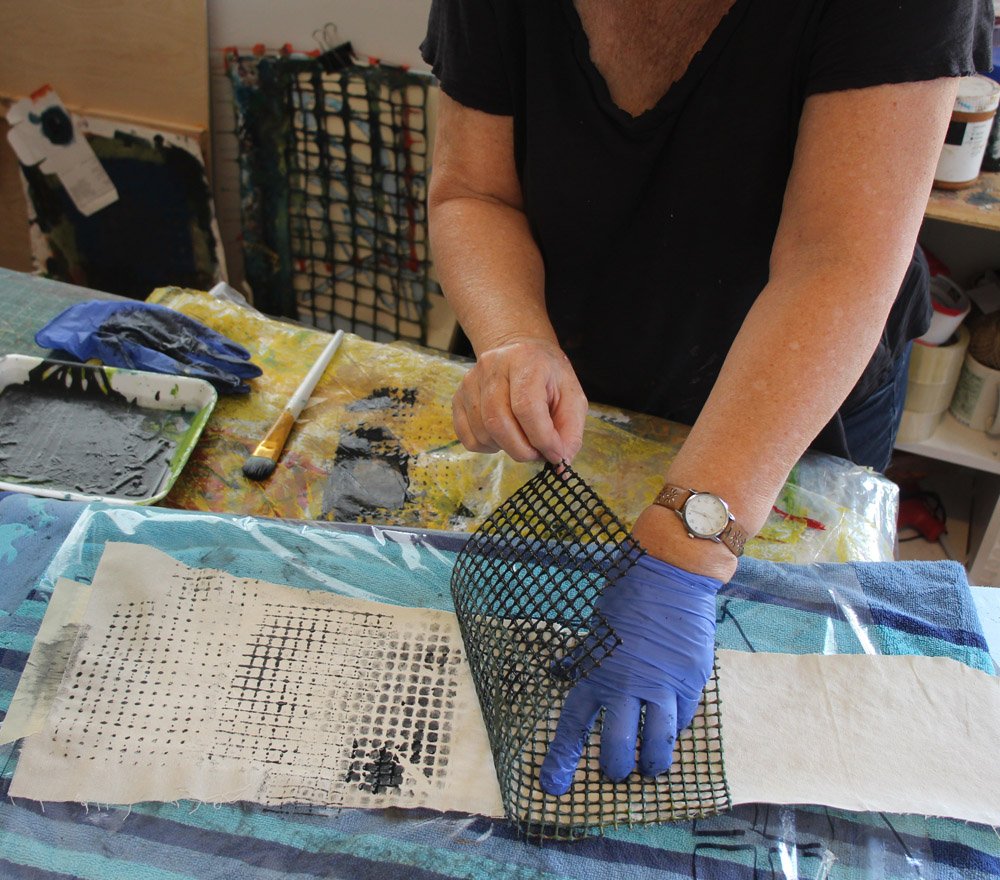
You’ll also see in the picture above a third image created by painting inside the square holes of the mat. This used the mat as a stencil instead of as a relief plate. It is the pattern I finally chose for my tree artwork. Just use a stiff brush, back off on the paint so it doesn’t glob, and force the paint down through the holes. Like this:

Now, just to be a thorough experimenter, I tried one more technique. I placed the grid mat underneath the fabric and rolled some paint on top to get a rubbing. You can experiment using a brush, a soft roller, or a firm brayer.

All of these techniques can be interesting and useful for different applications. I’ve used them all from time to time.
Now my experimenting was done and it was time to paint the pattern, in the actual color I wanted to use, on the actual tree artwork. You can see I masked out the edges of the trees with masking tape so I could work freely without worrying about printing an area that’s not supposed to have the pattern.

I used other found objects and other colors across the tree pattern. It’s getting there!

What’s ahead: more masking and painting. I will be changing the background behind the trees to a dark black-blue, and doing that by rolling on the paint. I’ll be masking out the entire tree portion to let the background show through.
Stay tuned!
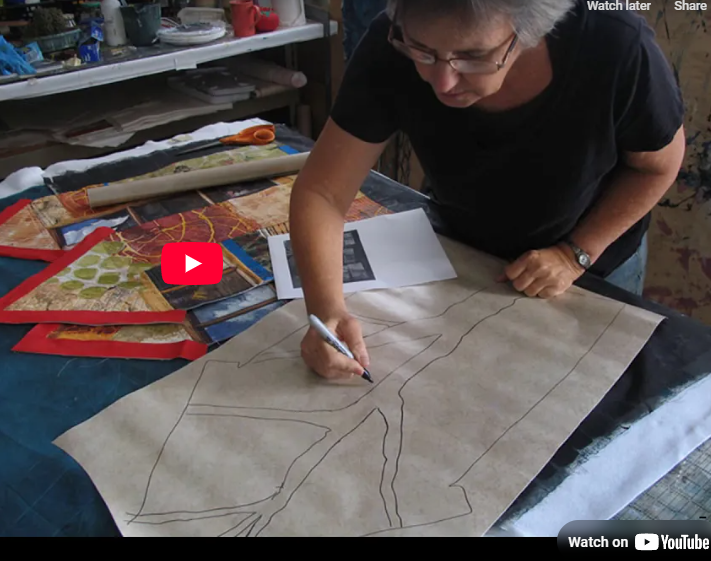
BONUS: MOVIE TIME! Last week I shared a poem inspired by a roofing crew at work on my street and I used one of my artworks, “So It Will Not Break in Two” as illustration. I re-discovered this week a video I had created on YouTube that depicts that quilt step-by-step. It’s a nice bridge between this week and last week. It depicts both some step-by-step descriptions and also gets at the emotional content of the work. It’s just a few minutes long. I hope you enjoy. Find it HERE
For all the artmakers: Happy creating
For all the art lovers: Happy appreciating
Thank you for reading. I always enjoy questions and comments.
--Bobbi
How I keep in touch:
BLOG POSTS - once a week: Mostly about what I am creating in the studio. If you would enjoy receiving blog posts by e-mail, please subscribe here: I post and send by e-mail each Sunday evening. BLOGS-BY-EMAIL
NEWSLETTER – about once a month: Mostly news of exhibits and my way of introducing new work. You’ll get FIRST LOOKS at new artwork and members-only discounts. You’ll hear from me about once a month. NEWSLETTER