A week of experimenting.
(I’m not sure if that sounds surprising to those who follow my work. After all, I’m in the studio putting paint on fabric all the time. But a single technique – used in a new way or for a new purpose – can mean experimenting happens all the time too.)
Last week I was looking down into water and creating watery patterns.
This week I worked on the companion section – something to suggest the feel of plant life above or beside the watery patterns.
I came up with – and then rejected – several possibilities. I ended up guided by the graphic character of the underwater section. I also wanted just a few strong shapes to balance the intricate goings-on of the underwater section.
To follow the inspiration and process: Here is a section of the underwater section I created last week:
Here’s the sketch I came up with for the above-water section
Before jumping in, just a note about process: using hand-cut stencils. There are lots of other ways this image could get onto fabric. I could have just hand-painted it, for example. But I like the flat, super-thin paint layers that come from rolling with a foam roller. And I like the clean line edges.
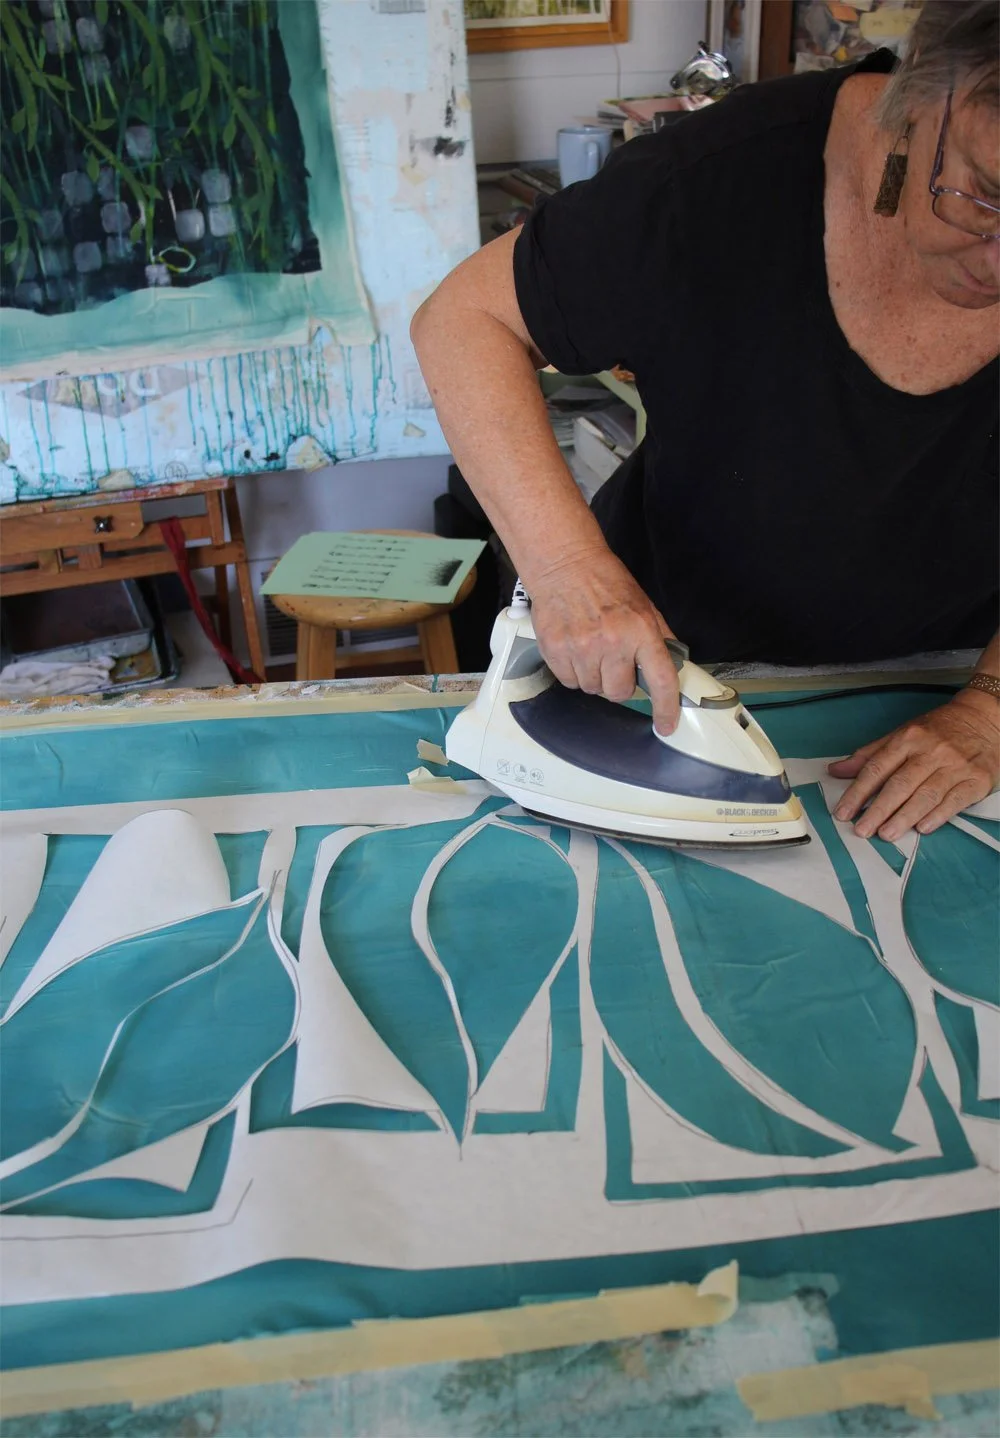
I used a stencil cut from freezer paper. Step 1: Cut it out.
Freezer paper is magic! Even though I have used it a number of times, I am always amazed that it works. But it does. You place the waxy side face-down to come in contact with the substrate fabric. Then iron it in place. It sticks, it will create a clean edge, and it will peel right off. (And, frequently, you can use a freezer stencil more than once.)
I’m working from the background, light to darker over-print. Yellow is the underneath layer, the lightest. Here I am rolling it over the freezer paper.
Without moving the freezer paper stencil, I am over-rolling a green on top of the yellow with a linear pattern which will show through yellow. Then I rolled a third hit, a transparent lime green color over all of it.
Here’s the first reveal.
I will be rolling on one more layer: the dark blue-black. Before doing that I had to cover up the green and yellow I had just painted. I wanted the dark color to show around it, not on top of it.
(Compare this photo to the fist one showing the stencil. Picture one: The leaves and lines were the open part for the paint to go in. Now, picture 2, the leaves and lines are what’s covered up.)
After the four rolled layers, plus a bit of spatter, here’s how it looked.
This work is not done, but it’s pretty close. I quilted the leaf sections with lines that follow and enhance the shape of the leaves. Then I sewed the leaf section to the underwater section.
I had an enjoyable few hours of stamping an energetic linear pattern all around the perimeter in two colors. I like the way this is unifying the sections.
Working out patterns and composition in large, almost-whole-cloth works is quite different from creating patterns on individual pieces of yardage then cutting them up and stitching them together. (Although I like that too.)
I needed some new artistic energy. This experimental project is giving it to me.
For all the artmakers: Happy creating
For all the art lovers: Happy appreciating
Thank you for reading. I always enjoy questions and comments.
--Bobbi
How I keep in touch:
BLOG POSTS - once a week: Mostly about what I am creating in the studio. If you would enjoy receiving blog posts by e-mail, please subscribe here: I post and send by e-mail each Sunday evening. BLOGS-BY-EMAIL
NEWSLETTER – about once a month: Mostly news of exhibits and my way of introducing new work. You’ll get FIRST LOOKS at new artwork and members-only discounts. You’ll hear from me about once a month. NEWSLETTER


